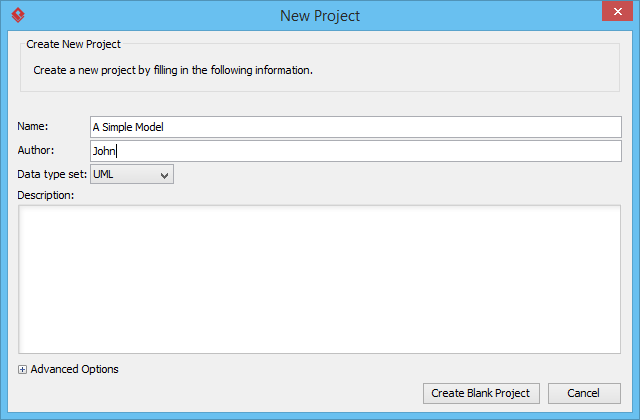
- Create a new project by selecting Project > New from the application toolbar. In the New Project window, enter A Simple Model as project name and click Create Blank Project.
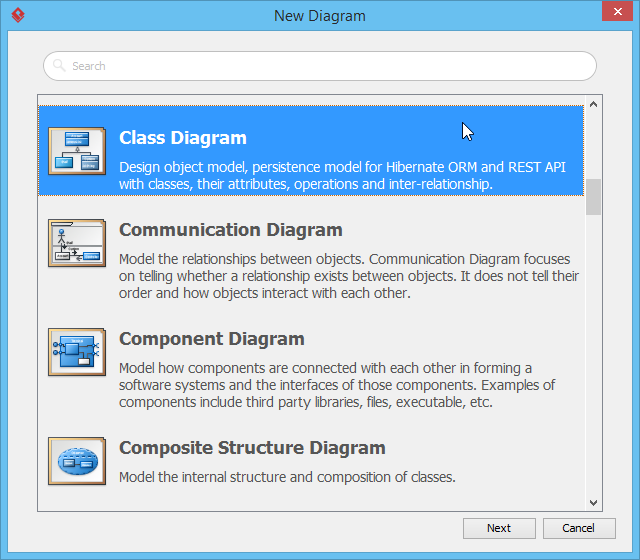
- Create a class diagram by selecting Diagram > New from the application toolbar. Select Class Diagram and click Next.
- Click OK to confirm.
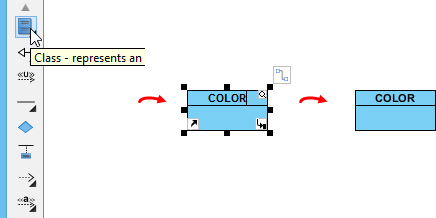
- Create a class by selecting Class from the diagram toolbar in advance and clicking it on the diagram. Name it as COLOR. In some programming languages, a constant class is named in upper case.
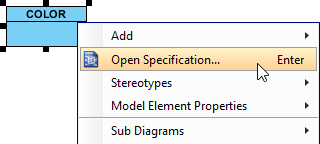
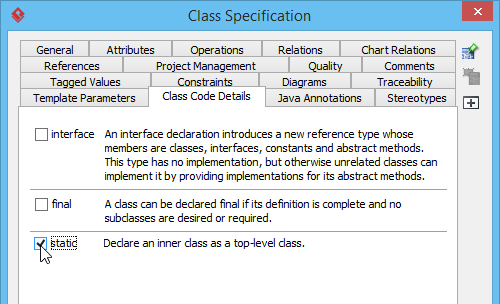
- Although COLOR is constant class, you can set it to be a static class. Right-click on the class and select Open Specification... from the pop-up menu.
- In the Class Specification window, open Class Code Details tab and check final and static. Next, click OK button.
- COLOR contains several attributes for different colors. Let's create an attribute for red. Right-click on COLOR and select Add > Attribute from the pop-up menu.

- Enter +red : int = 1 and press Enter to confirm. Entering + means you set it as public, thereby, it becomes accessible to other classes. Here red is the name of attribute while 1 is the default value.

- Similarly, enter green : int = 2 and blue : int = 3 respectively. The image below shows the result:

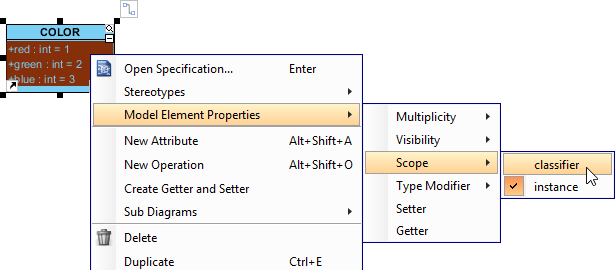
- Since the three colors are static, you'd better set their scope to be classifier. Select all the three attributes, right-click on them and select Model Element Properties > Scope > Classifier from the pop-up menu.
- Now, create another class through diagram toolbar and name it as Shape.

- Add an attribute and then name it as color : int, press Enter and then Esc to confirm.

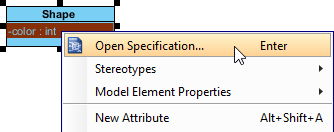
- Let's customize the default color of shape as green. You have to set the initial color for the color attributes as COLOR.green in advance. Right-click on the attribute color and select Open Specification... from the pop-up menu.
-
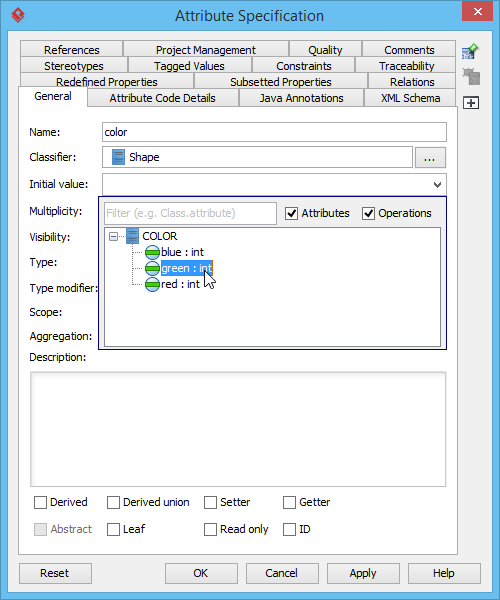
In the Attribute Specification window, open General tab. Press the upside down arrow in the Initial value field to select green : int in the tree. Click OK to close the specification window. Note that only public attributes are available to select as the initial color.
The result of Shape class is shown as follows:


